Xhorse VVDI Key Tool Max PRO is able to add BMW CAS3 IMMO key by OBD. Following I’m gonna show how to do.
- Read IMMO Data
Plug Key Tool Max PRO cable into OBD interface.
Insert working key to turn ignition on.
Immo programming >> BMW >> Automatically diagnose models
The current system type is detected as CAS3++(ISTAP), about to enter the system operation interface, please wait…
Read key information >> Yes – add key >> Yes
Warning: this operation requires the CAS to be installed on the car, and operation on the platform may cause the steering lock failure!
Press “Yes” to continue.
Current CAS is ISTAP version, we need flash CAS firmware to continue OBD operation.
Flash firmware need about 10 minutes. Make sure your notebook and car with enough power.
Suggestion1: if the car is low power, supply extra power to car.
Suggestion2: if you have enough time, you can read CAS flash and eeprom before continue.
Press “Yes” to start flash CAS firmware.
The dealer key should be taken away from ignition switch.
If key is keyless, please move it out of car.
If there’s no key in ignition, continue anyway.
Press “OK”.
Wait processing…
Insert key to ignition and switch on.
The dealer key should be taken away from ignition switch.
If key is keyless, please move it out of car.
If there’s no key in ignition, continue anyway.
Press “OK”.
Reading key data success.
Save data file.
- Make Dealer Key
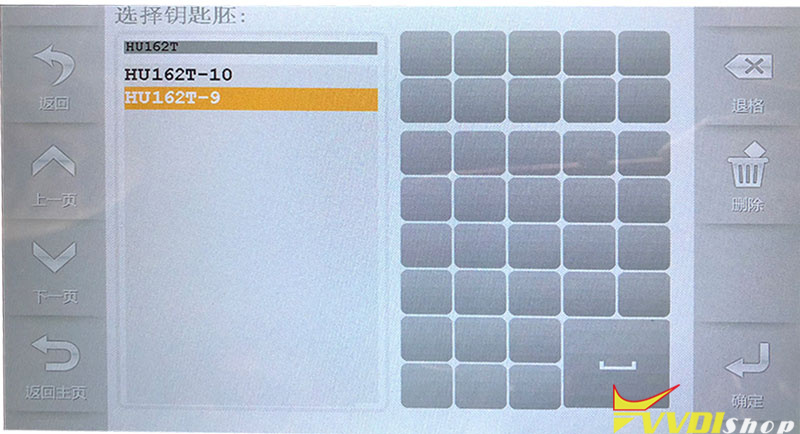
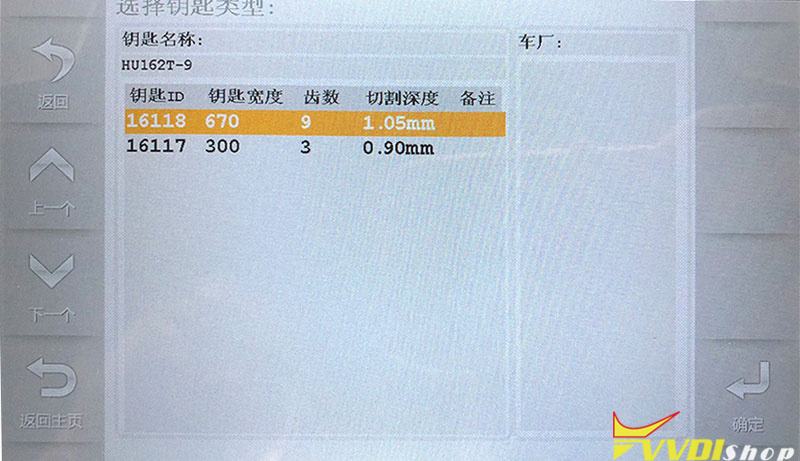
Prepare dealer key with programmer >> Select key position: key 3
CAS key data is encrypted, support make dealer key for it. Once failed, please contact the dealer!
Try BMW protocol…
Please put new key into VVDI Key Tool Max PRO programmer.
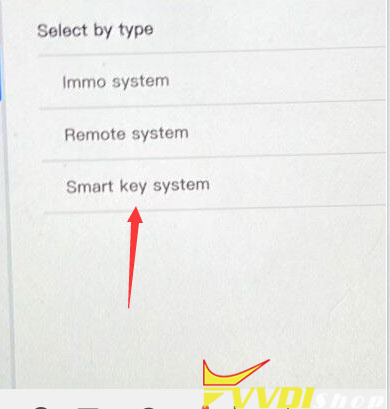
Is the current key a smart key? No
Make dealer key success.
- Add Key
Add key >> Yes
Please put new key into VVDI Key Tool Max PRO programmer.
Try BMW protocol…
Is the current key a smart key? No
The dealer key should be taken away from ignition switch.
If key is keyless, please move it out of car.
If there’s no key in ignition, continue anyway.
OK>> OK
Wiring data success.
New dealer key success written to CAS system.
You can start engine with new key now. If cant, please use the original working key first.
The new key can start the engine.
And its remote works fine.
Perfectly done.
https://www.vvdishop.com/service/vvdi-key-tool-max-pro-add-bmw-cas3-key-via-obd.html


.jpg)
.jpg)
.jpg)
.jpg)
.jpg)
.jpg)
.jpg)
.jpg)
.jpg)
.jpg)


.jpg)
.jpg)
.jpg)
.jpg)
.jpg)
.jpg)
.jpg)
.jpg)
.jpg)
.jpg)
.jpg)
.jpg)
.jpg)
.jpg)
.jpg)

